You do not need to collect every paintless dent repair tool before you start learning. You need to understand the core tools, what each one lets you do, and how to use them with control. A large kit can give you more choices, but it cannot read a reflection or decide how much pressure a panel needs for you.
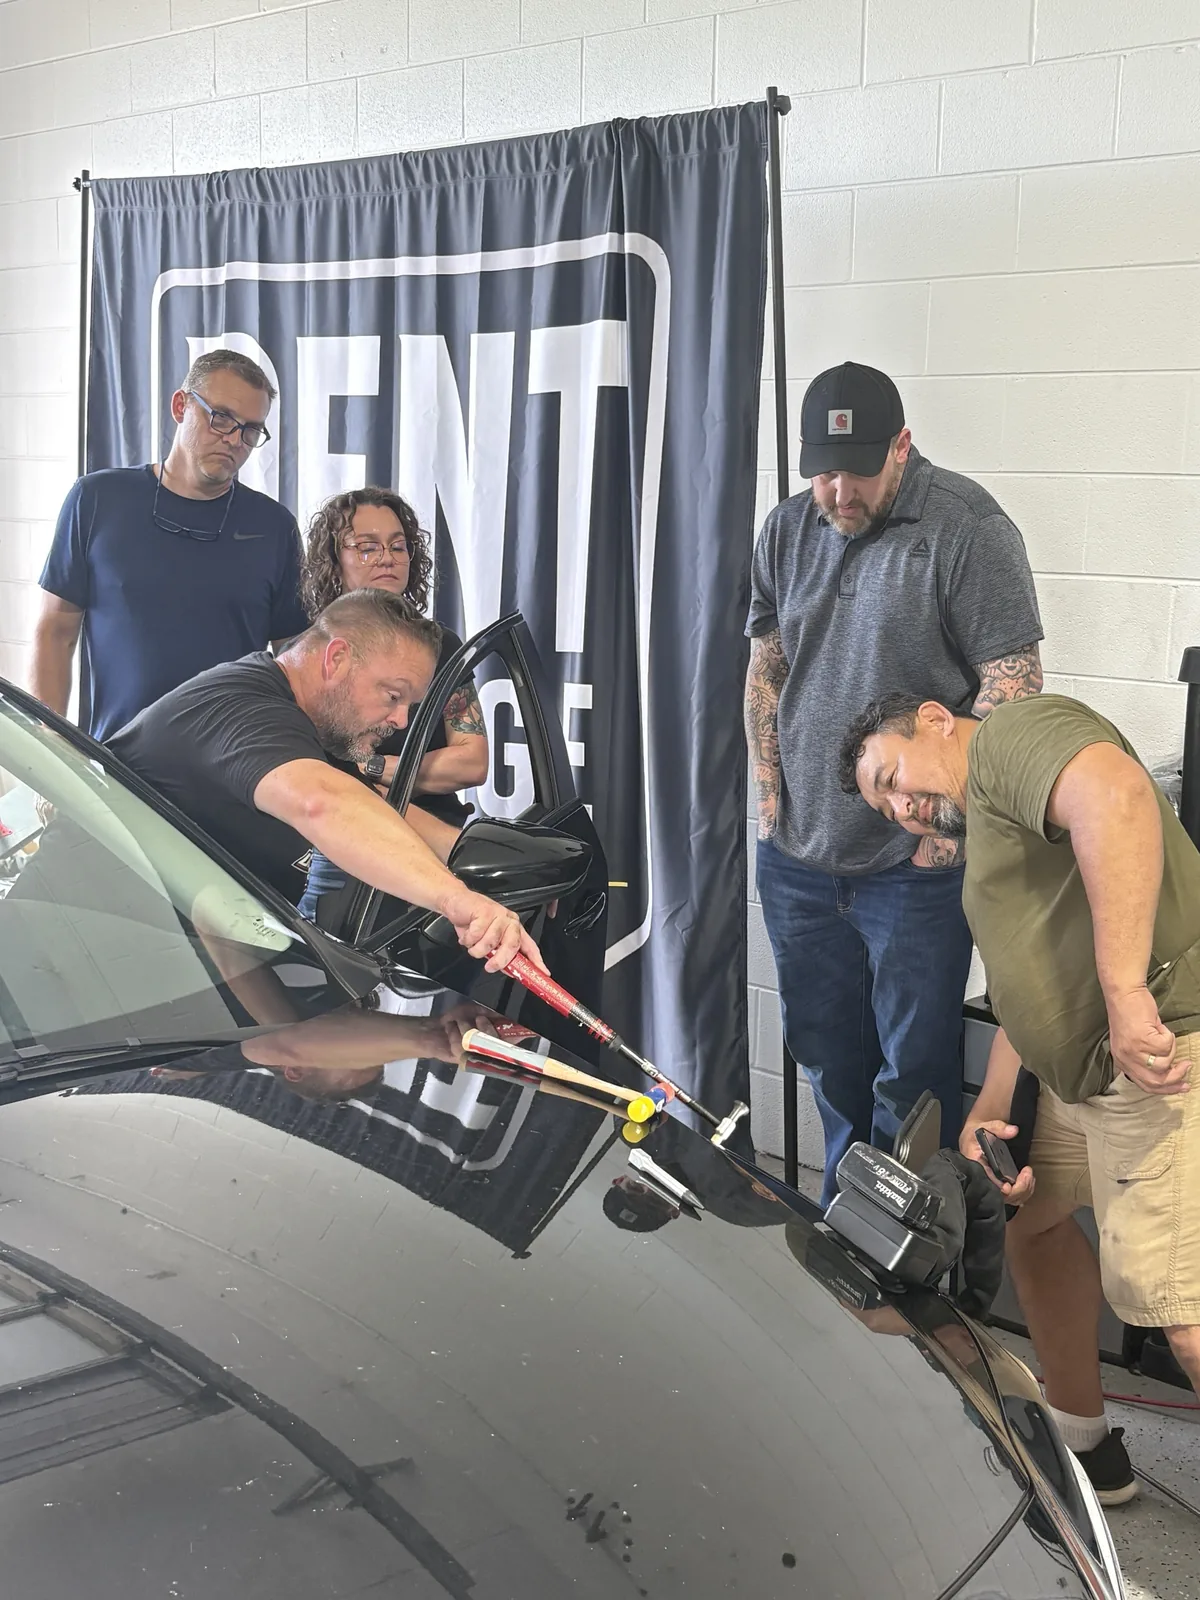
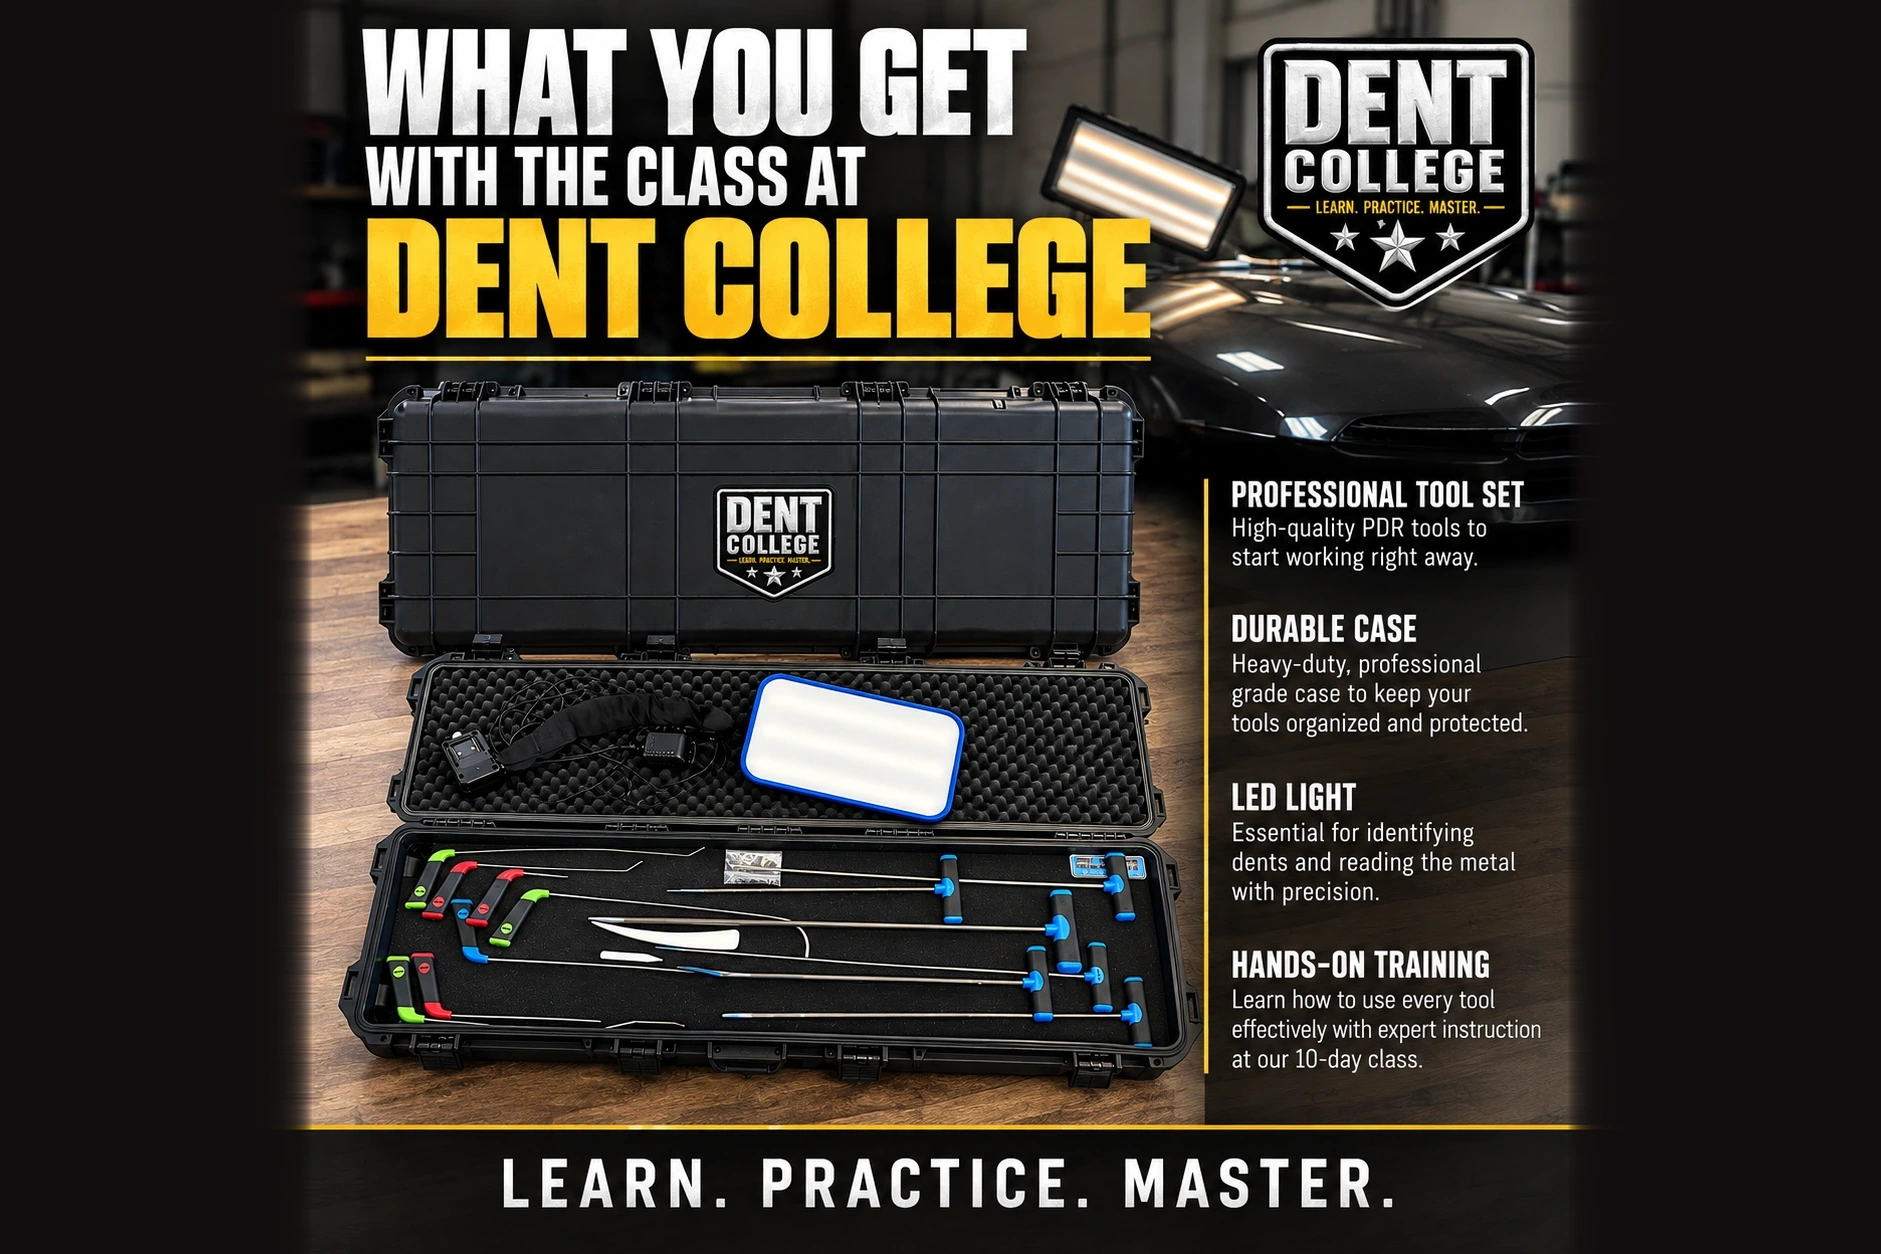
At Dent College, students take home their own professional PDR tool set, durable case, and LED light. Our 10-day, in-person Knoxville class puts tools in your hands on real panels with instruction. If you are comparing equipment or planning your first purchase, begin with the basics below rather than a shopping list of specialty pieces.
Start with a Dent Light or Reflector Board
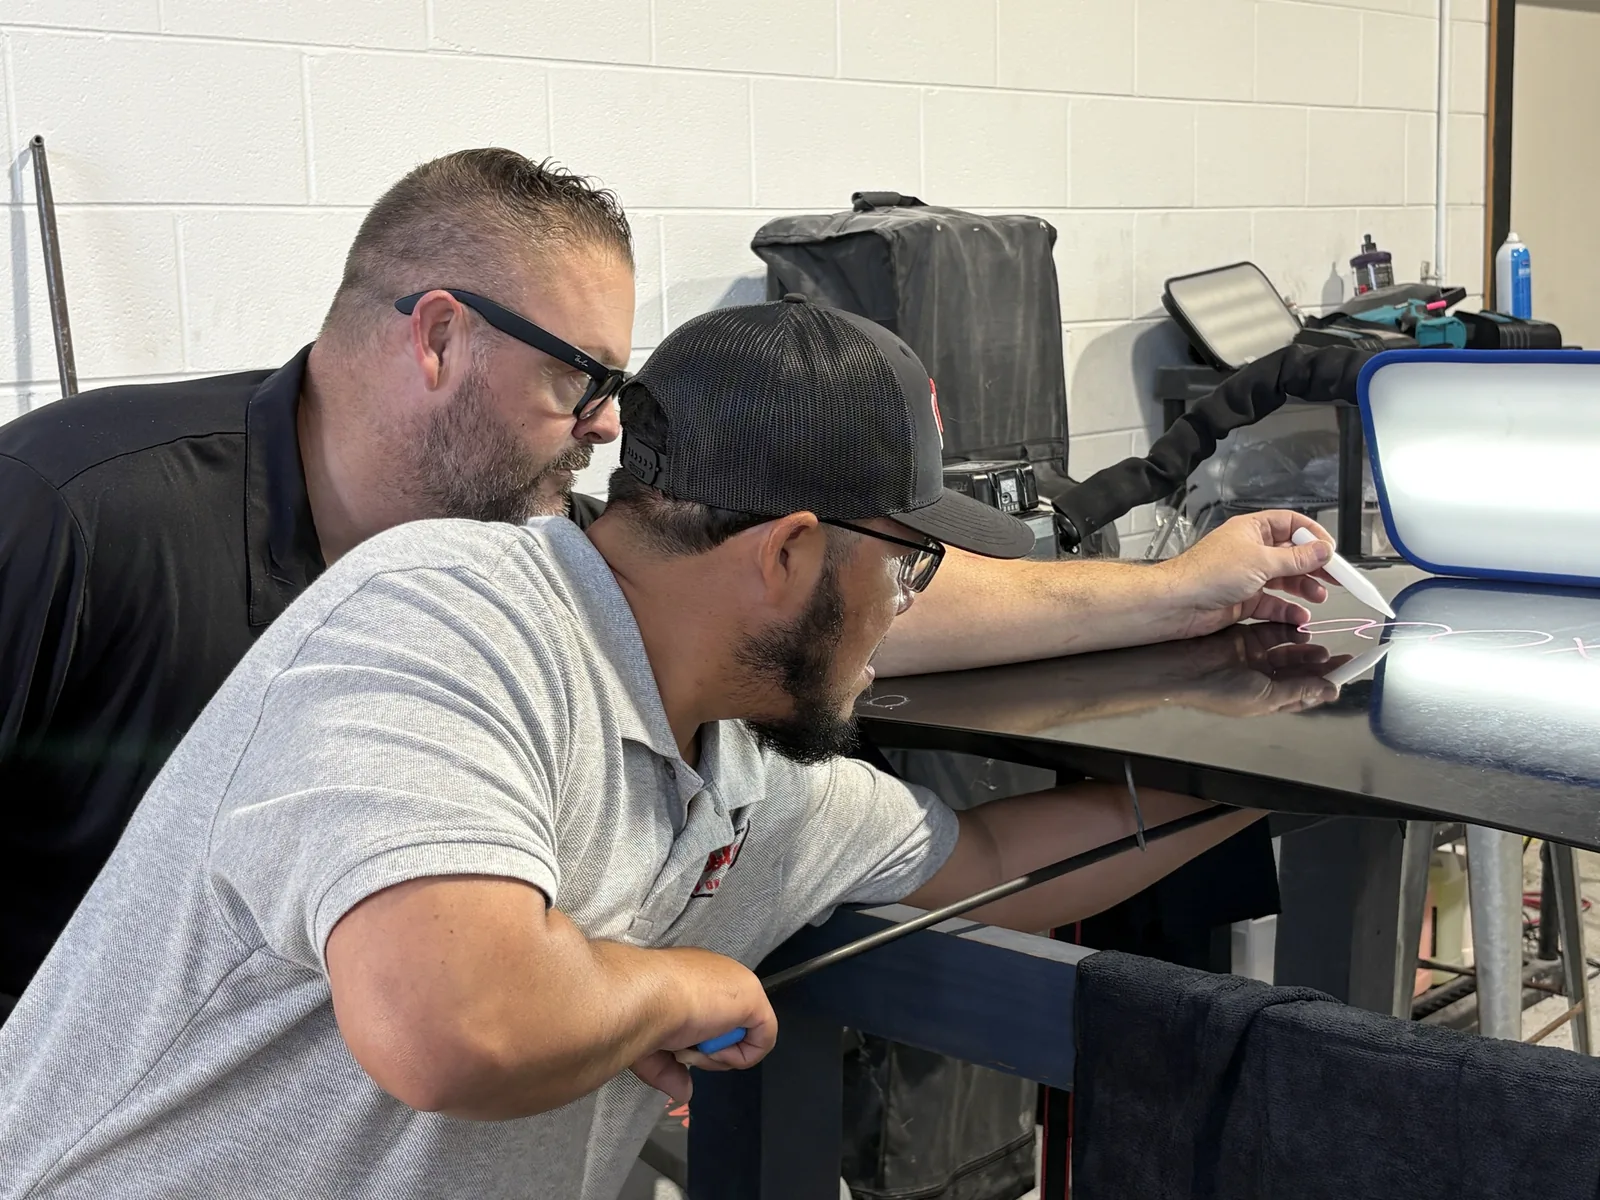
PDR depends on reading the surface, not simply spotting a dent with ordinary room lighting. A dent light or reflector board gives you a reflection to study across the panel. It helps you see the low area, recognize a high spot, and watch what changes after a controlled tool movement.
Learn the View Before Buying More Tools
The light belongs near the beginning of your equipment plan because every push and tap needs feedback. Before working, check that the reflection lets you read the area clearly. Then stop regularly to inspect the surface. If you cannot tell what changed, adding another rod will not answer that question.
Dent College includes an LED lighting board in the program. Use class time to learn how the view and your position work together. Ask the instructor to explain what they see, then describe it back in your own words. Reading the metal is a skill to practice alongside using the tools.
Hooks and Rods: Reaching the Back of the Panel
Hooks and rods let you work from behind a panel and make small, controlled pushes. Their different lengths, bends, and tips help with different access positions. The useful question is not how many rods a kit contains. It is whether you understand where a particular tool can reach and how to control it there.
Access and Leverage Come Before Force
A longer or differently shaped tool does not mean you should push harder. First identify the access you have and locate the tip under the area you intend to move. Then use a deliberate movement and check the reflection. An awkward position is a reason to reassess your setup, not to force the repair.
Start by learning the core hand tools used in your training. Add more specialized shapes later when you can explain the access problem they address. Dent College's curriculum includes advanced hand tools, leverage control, body position, and tight-access work, so those questions have a place in hands-on instruction.
Knockdown Tools, Tap-Down Tools, and Hammers
These names can make equipment lists look more complicated than the basic idea. Knockdown and tap-down work addresses high spots from the outside of the panel. A tap-down tool gives you a tip to position on the area you want to lower, and a light hammer provides the controlled tapping movement.
Pushing from behind and tapping from the front are related parts of the repair. A beginner who only thinks about raising the low area can overlook a high spot. Learn to recognize both in the reflection and ask when to switch between pushing and tapping instead of repeating one action automatically.
Control Matters More Than a Collection of Tips
Practice locating the area you intend to tap, keeping the tool positioned, and checking the surface after the movement. Do not choose a tip or hammer only because it appears in a large bundle. Ask an instructor to show you how the tool is being used and what change to look for.
Different tools give you options, but options are useful only when you understand the task. Learn the basic push-and-tap relationship before buying an assortment you cannot yet explain. The same patience used with a rod belongs in tap-down work too.
Glue-Pull Kits: Another Approach to Access
Glue pulling works from the outside when access behind the panel is limited. The kit provides a way to attach a pulling point and apply an outward movement rather than a push from behind. It is another method to learn, not a shortcut around reading reflections or judging the metal.
Dent College's published curriculum includes a first glue pull as part of repair sequencing and awkward-access work. That placement matters: the method belongs alongside planning and control. Learn how it fits a repair before treating it as the answer to every dent you cannot reach with a rod.
Put Glue Pulling After the Basic Control Skills
If you are buying equipment before instruction, ask what the class provides and what you will use there. Avoid choosing a large glue-pull package simply because the tool list sounds complete. You still need to understand the surface before and after the movement and how tap-down work relates to the repair.
For a beginner, glue pulling is a later buying decision unless your instructor recommends otherwise for your practice plan. Discuss the method and the panel with the instructor rather than assuming that difficult access alone makes a repair straightforward.
What a Beginner Should Buy First Versus Later
Your first priority is a way to learn and practice the fundamentals with appropriate tools. If you have not enrolled anywhere, find out what training includes before buying overlapping equipment. At Dent College, the professional tool set and LED light are included, and the tool set is yours to keep.
- First: hands-on instruction, a readable light or reflector setup, core pushing tools, basic tap-down tools and a hammer, and a suitable practice setup.
- Before another purchase: understand what is already included in class and which tools you are being taught to use.
- Later: additional rod lengths and shapes for specific access needs you can identify from practice.
- Later: a glue-pull kit and additional tap-down options when instruction and your practice plan call for them.
- Keep the kit organized: use the case so you can find the tool you intend to use rather than changing your approach because something is missing.
This is an order of priorities, not a universal shopping specification. The right next tool depends on the work you are learning to do. Ask why a tool belongs in your kit and what problem it solves. If the only answer is that other people own it, wait until you have a clearer reason.
What to Ask Before You Buy
- Which core tools will I actually practice with during training?
- Is a tool set included, and is it mine to take home?
- Is an LED light included, and will I learn to read its reflection?
- How will I practice on real panels under instruction?
- Which additional tools can wait until I understand access and leverage?
At Dent College, you don't have to figure that out alone, because you take home your own tool set. Bring your equipment questions to class and connect them to the repair in front of you. That makes the conversation more useful than comparing kit sizes without knowing what each piece does.
Why Tools Alone Do Not Make a Technician
The tool applies the movement; you decide where it goes and how carefully to use it. Without reflection reading, tip location, and pressure control, more tools simply give you more ways to repeat an unclear movement. Hands-on training matters because an instructor can watch that decision and help you correct it on the actual panel.
Our program includes controlled pushes, repair consistency, refinement, leverage, access, and real vehicle workflow. These are techniques, not items you can add to a shopping cart. Practice is where you connect them. Start with a manageable setup and give each movement a reason instead of treating a bigger kit as a substitute for instruction.
For more on the practice behind the equipment, read whether paintless dent repair is hard to learn. It walks through reflection reading, pressure control, and the beginner habits that hands-on instruction addresses.
What You Take Home from Dent College
Dent College students receive a professional PDR tool set, a durable case, and an LED light, with hands-on instruction in the 10-day class. The class is in person in Knoxville, Tennessee, with a maximum of four students. You work on real panels and vehicles as part of the published program.
The equipment and instruction belong together. Use the light to learn the view, the tools to practice controlled movements, and instructor feedback to understand what happened. After class, continued practice remains part of learning the craft. Owning the kit is a starting point, not a promise that every repair will be simple.
Frequently Asked Questions
Do I Need to Buy Tools Before Attending Dent College?
The program includes a professional PDR tool kit that is yours to keep and an LED lighting board. Ask about what is included before buying additional equipment. You can make later purchasing decisions with a clearer understanding of the core tools you have used in class.
Is a Dent Light Really a Core Tool?
Yes. Reading reflections is part of PDR, and the light helps you see what the metal is doing. It supports decisions about both pushing and tap-down work. Learn to read the surface instead of treating lighting as an accessory you can postpone.
Should Glue Pulling Be My First Method?
Learn it as part of an instructed repair process, not as a way to avoid the basics. Dent College includes glue pulling in its curriculum alongside repair sequencing and access. Reflection reading and controlled movement still matter whichever method you are practicing.
Will a Bigger Toolkit Make PDR Easier to Learn?
More tools can provide more access options, but they do not teach pressure control or tip location. Begin with instruction and the core equipment. Add tools when you can name the problem they solve and understand how to use them.